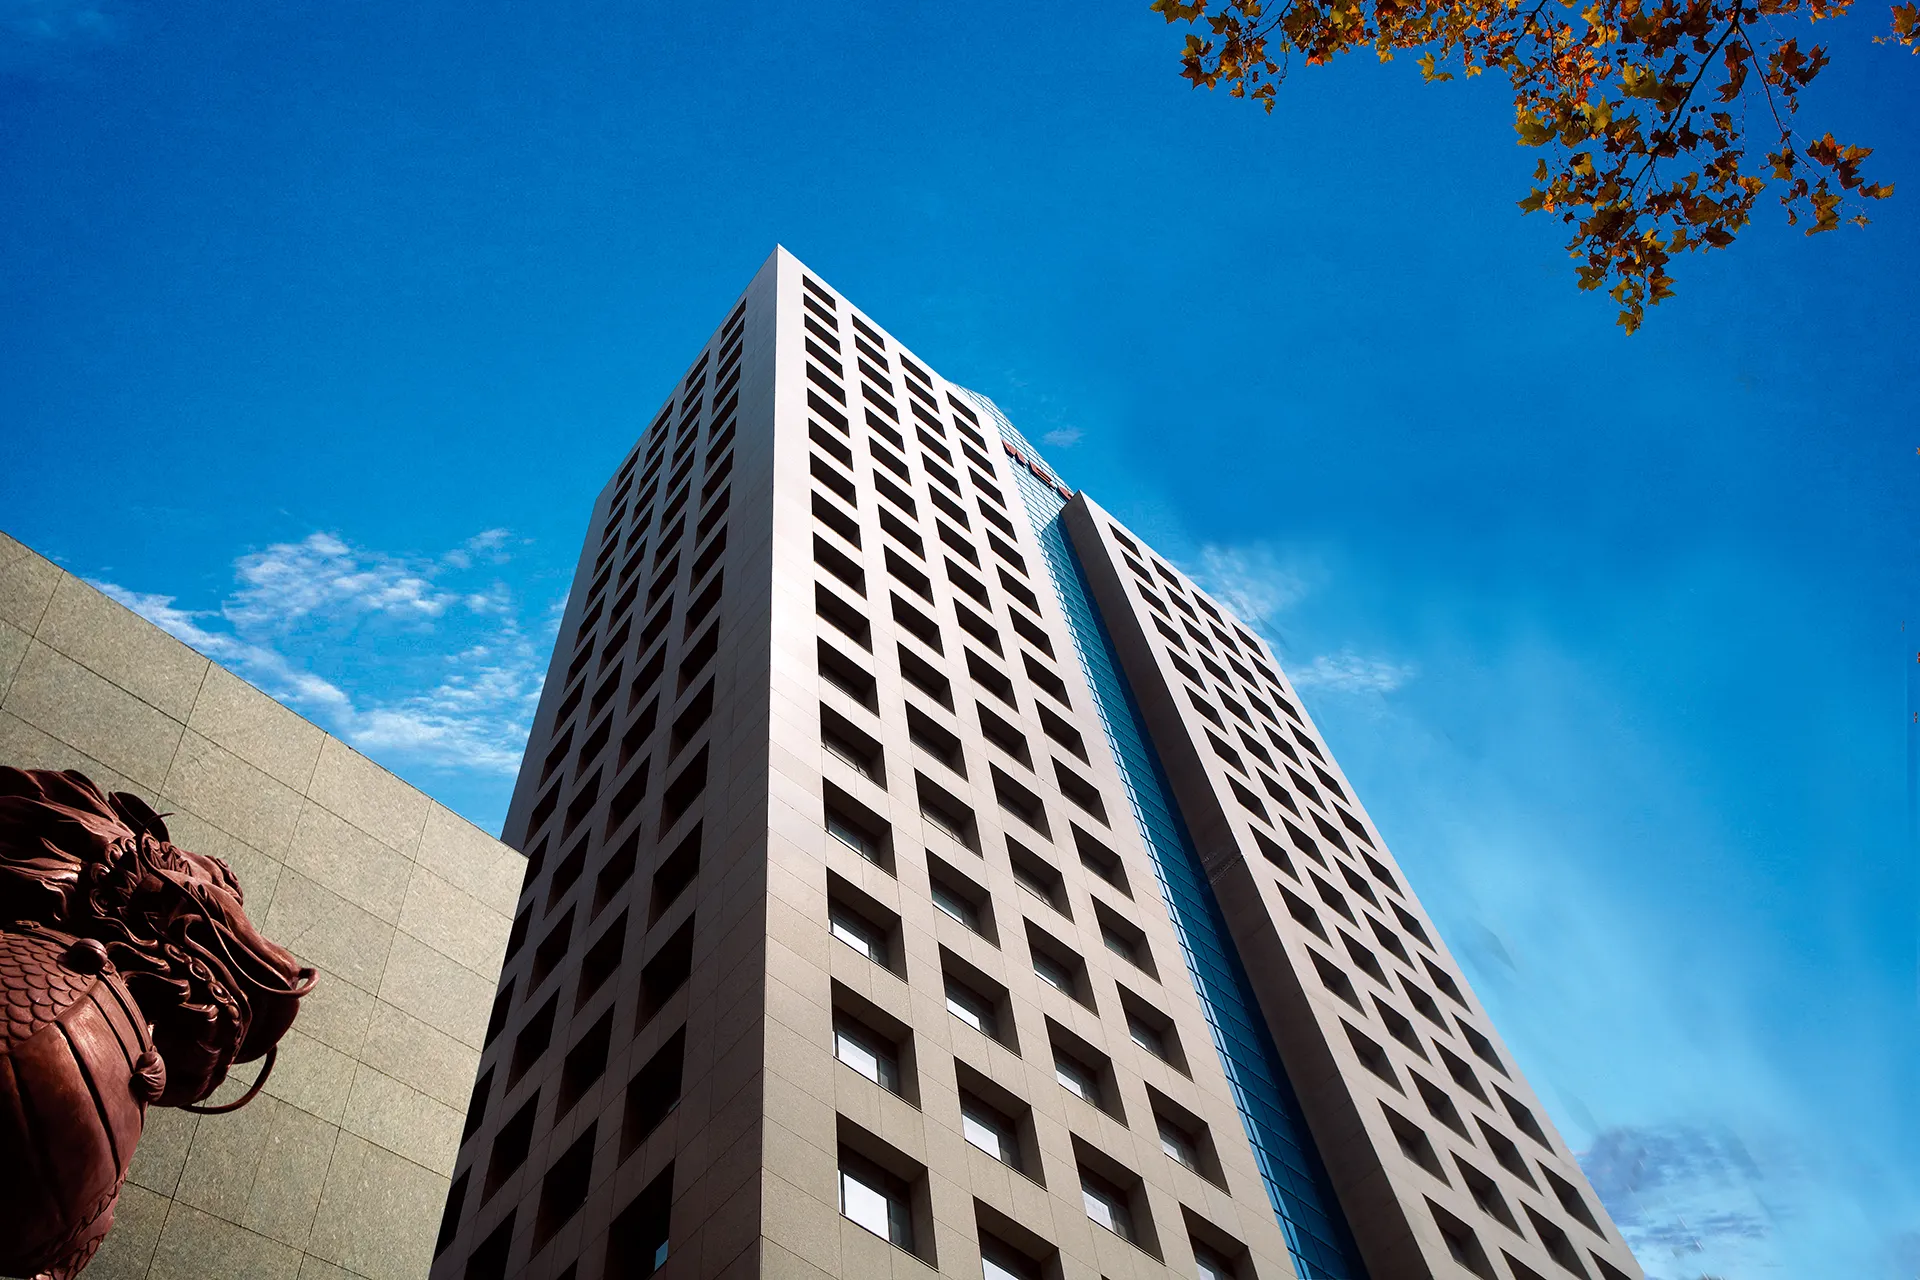
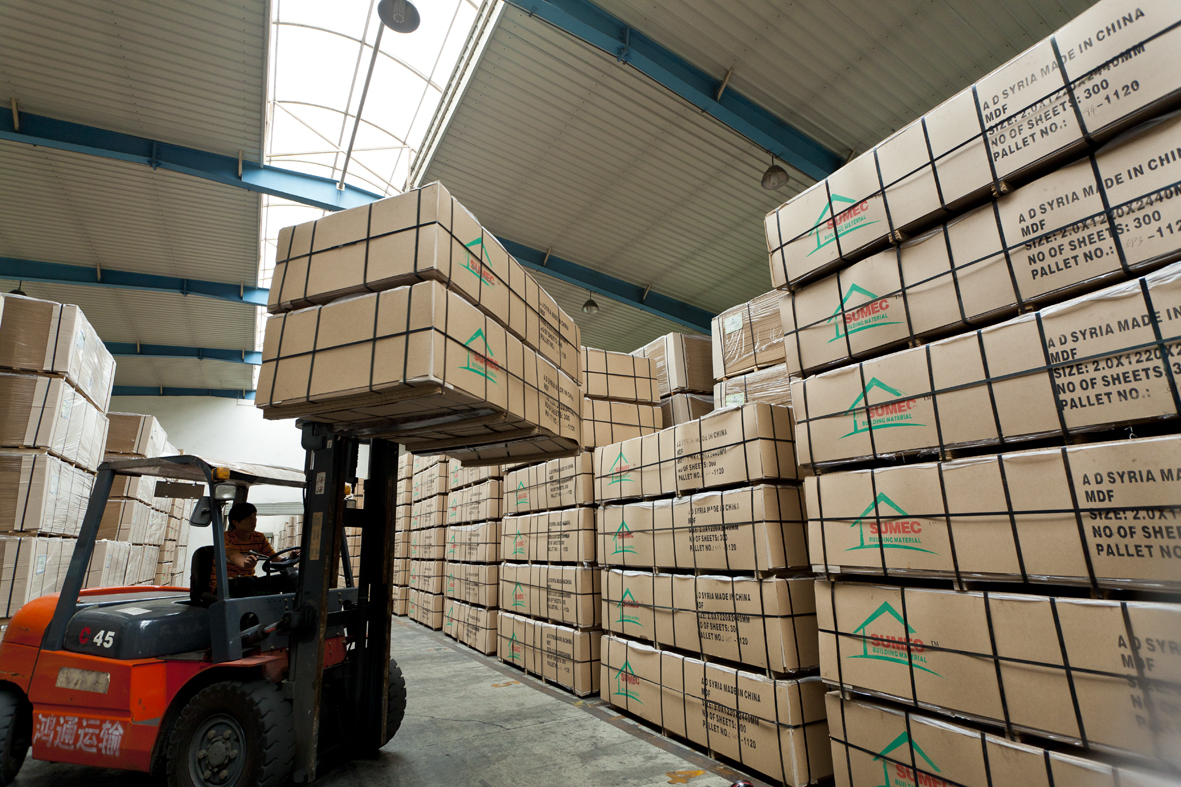
年产能 500,000 立方米,服务 100 多个国家
SUMEC 建材集团 亚洲顶级板材制造商
通过从物流到技术和融资支持的一站式供应链服务,您可以获得经久耐用的环保板材,是建筑和家具项目的理想选择,而无需担心质量或交货延误问题。


市场趋势
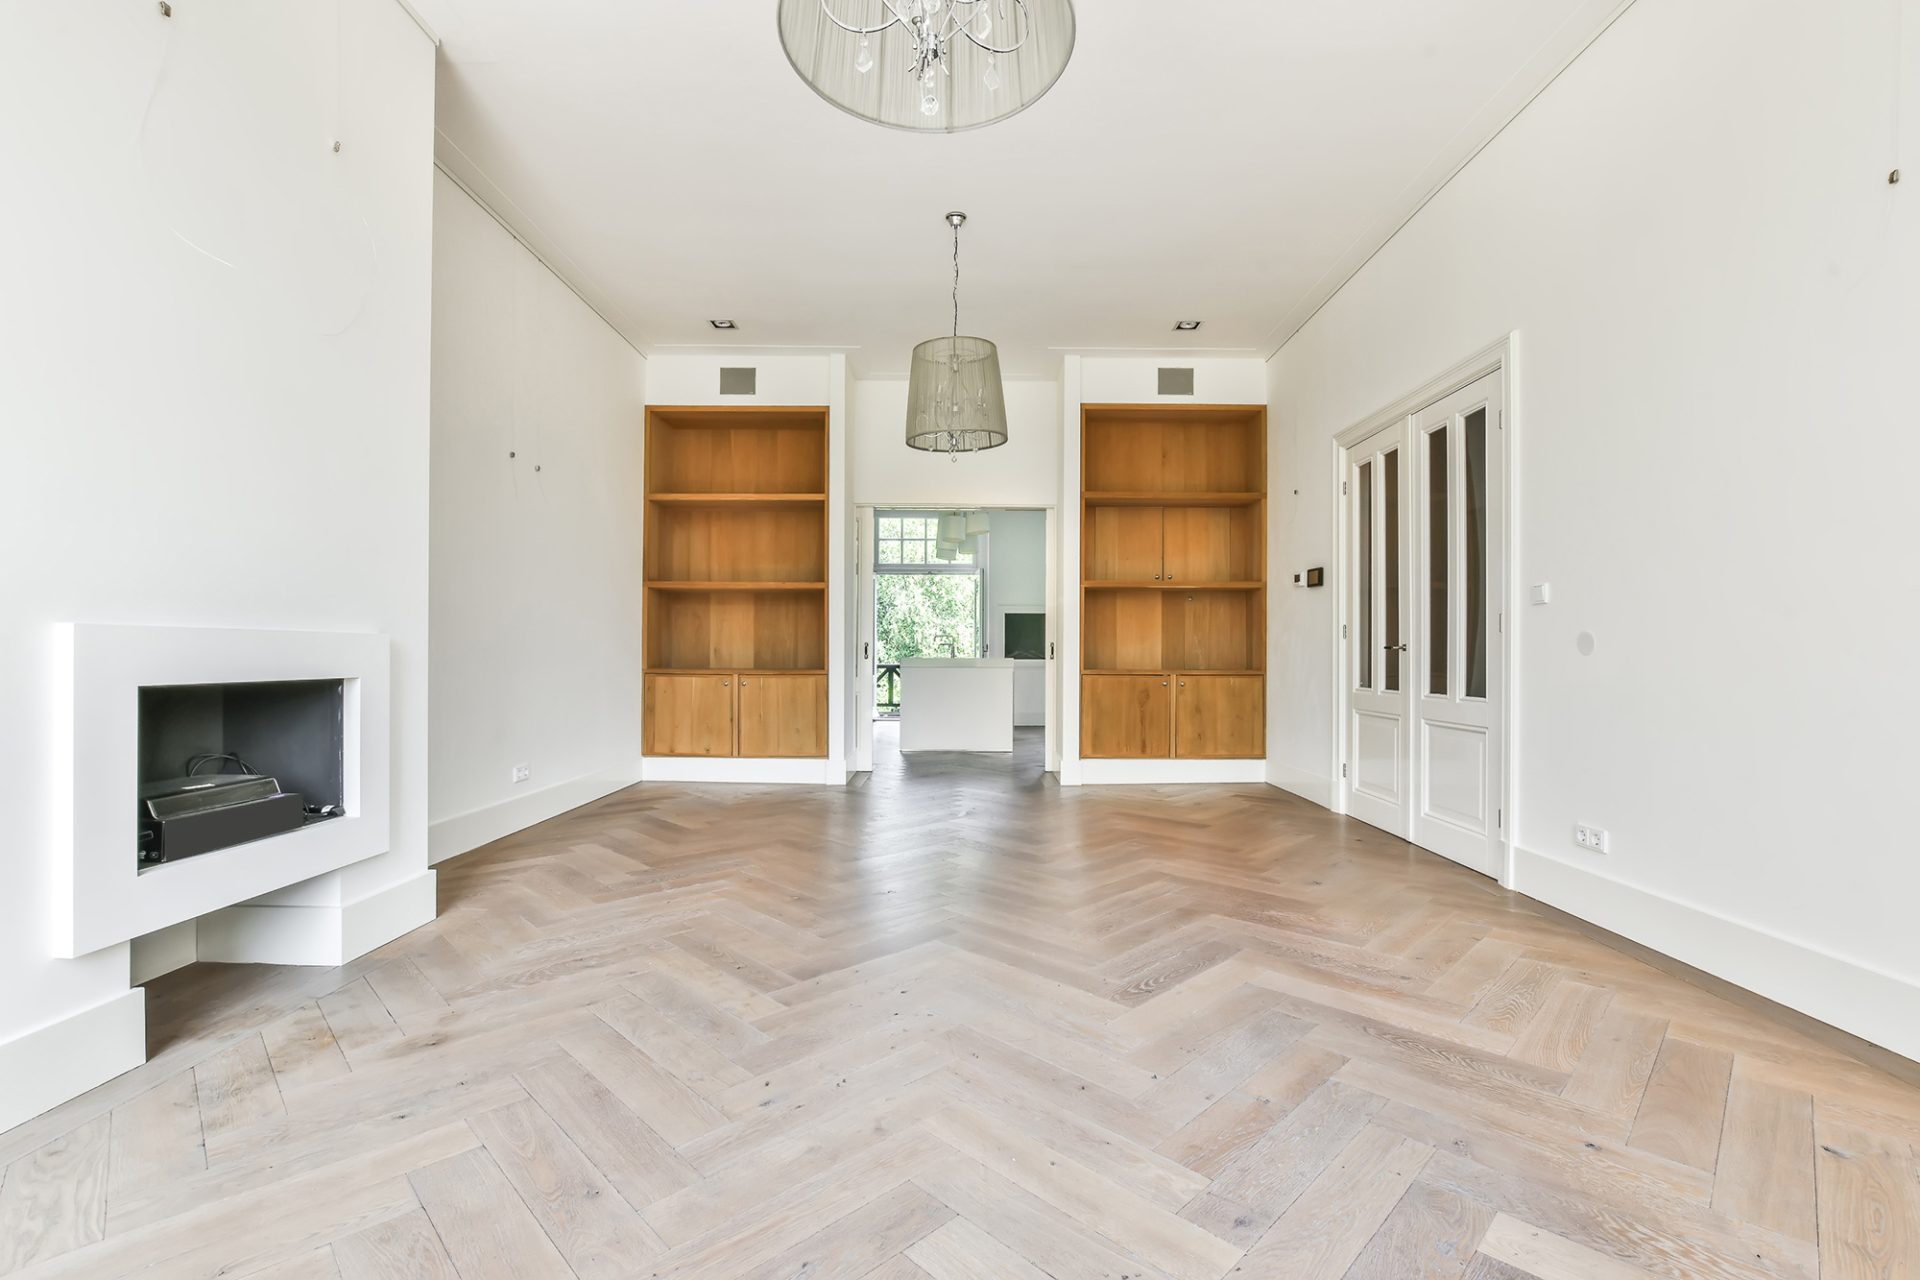
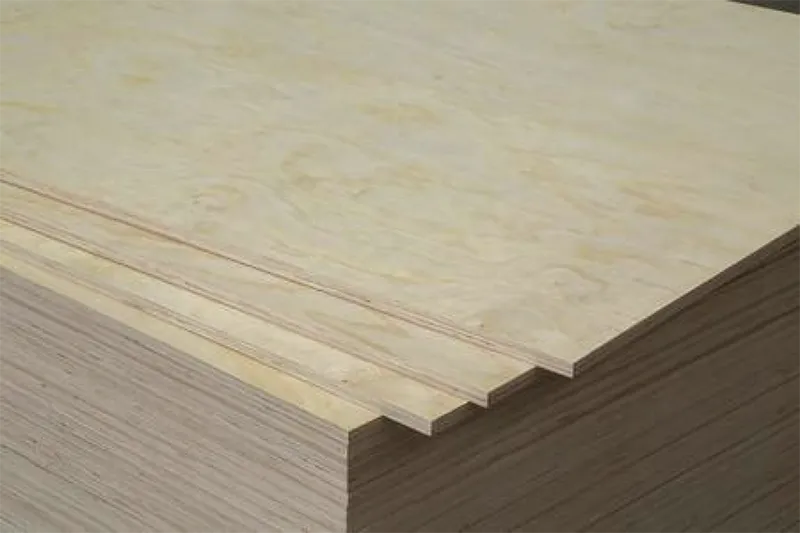
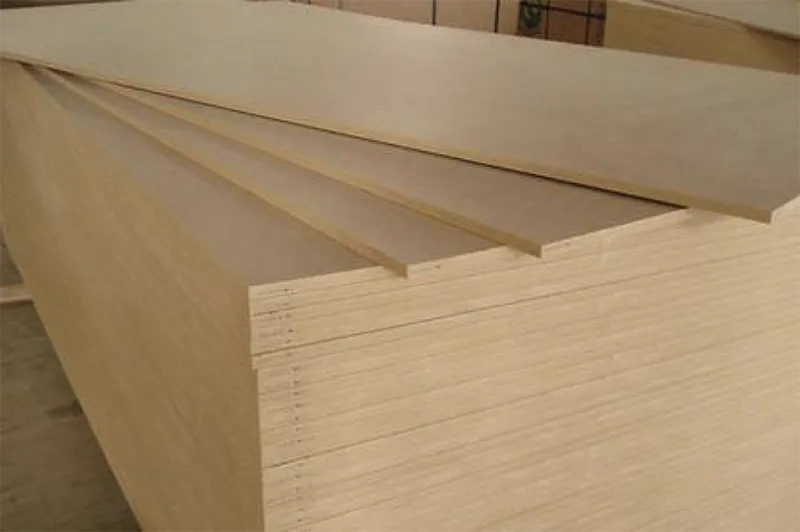
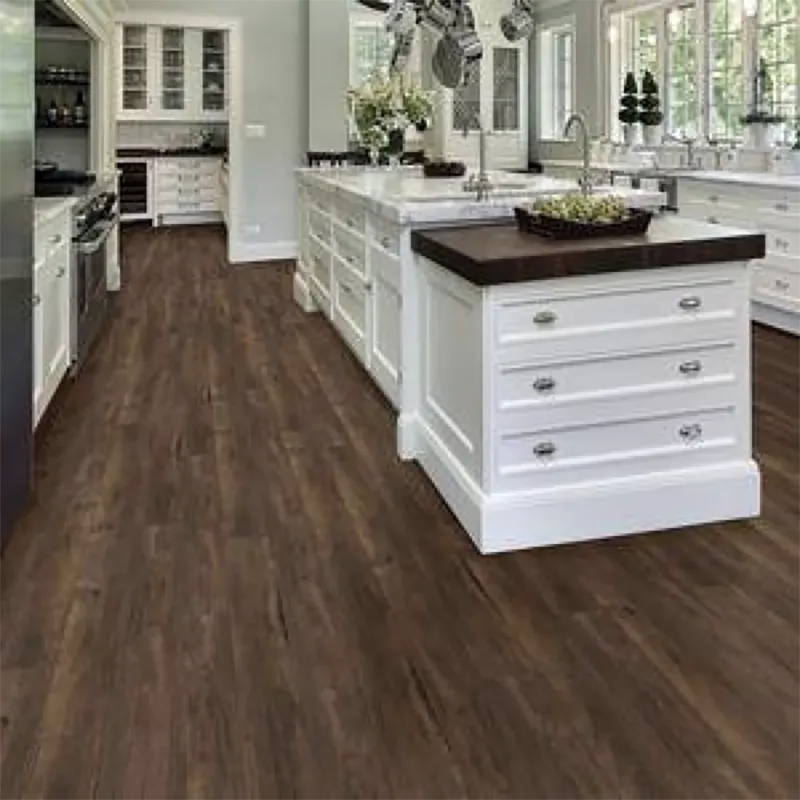
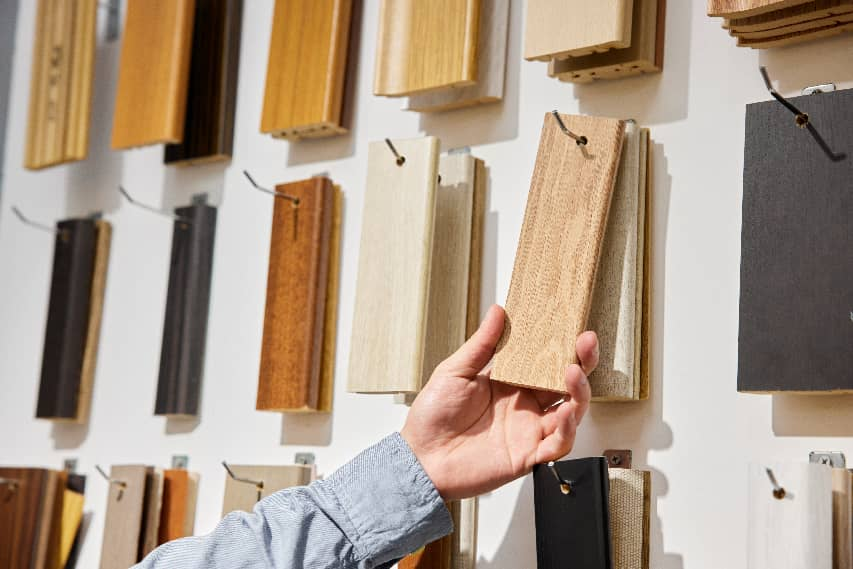
广泛应用 木质渠道
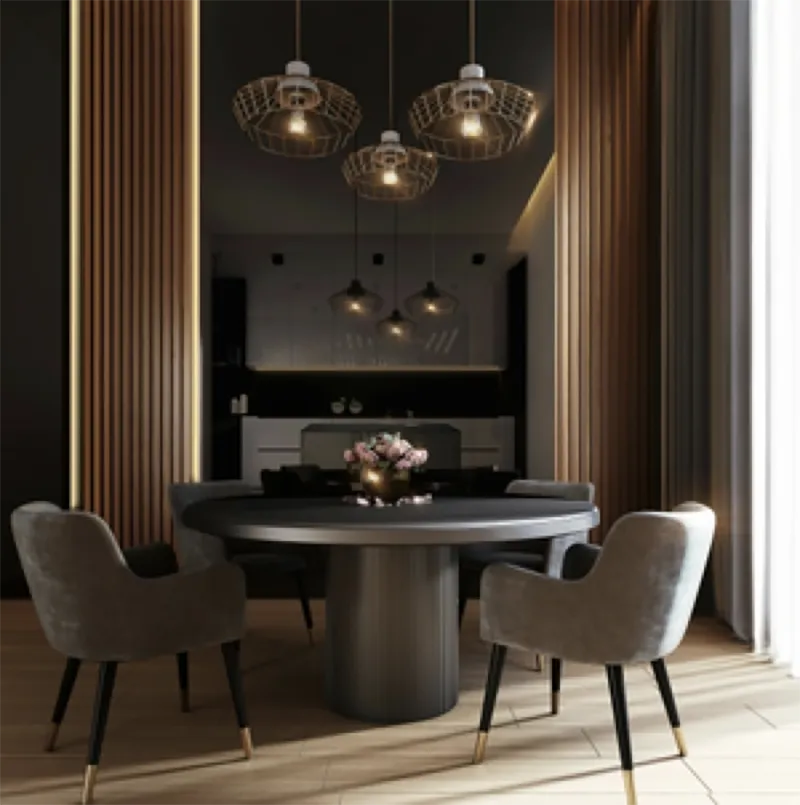
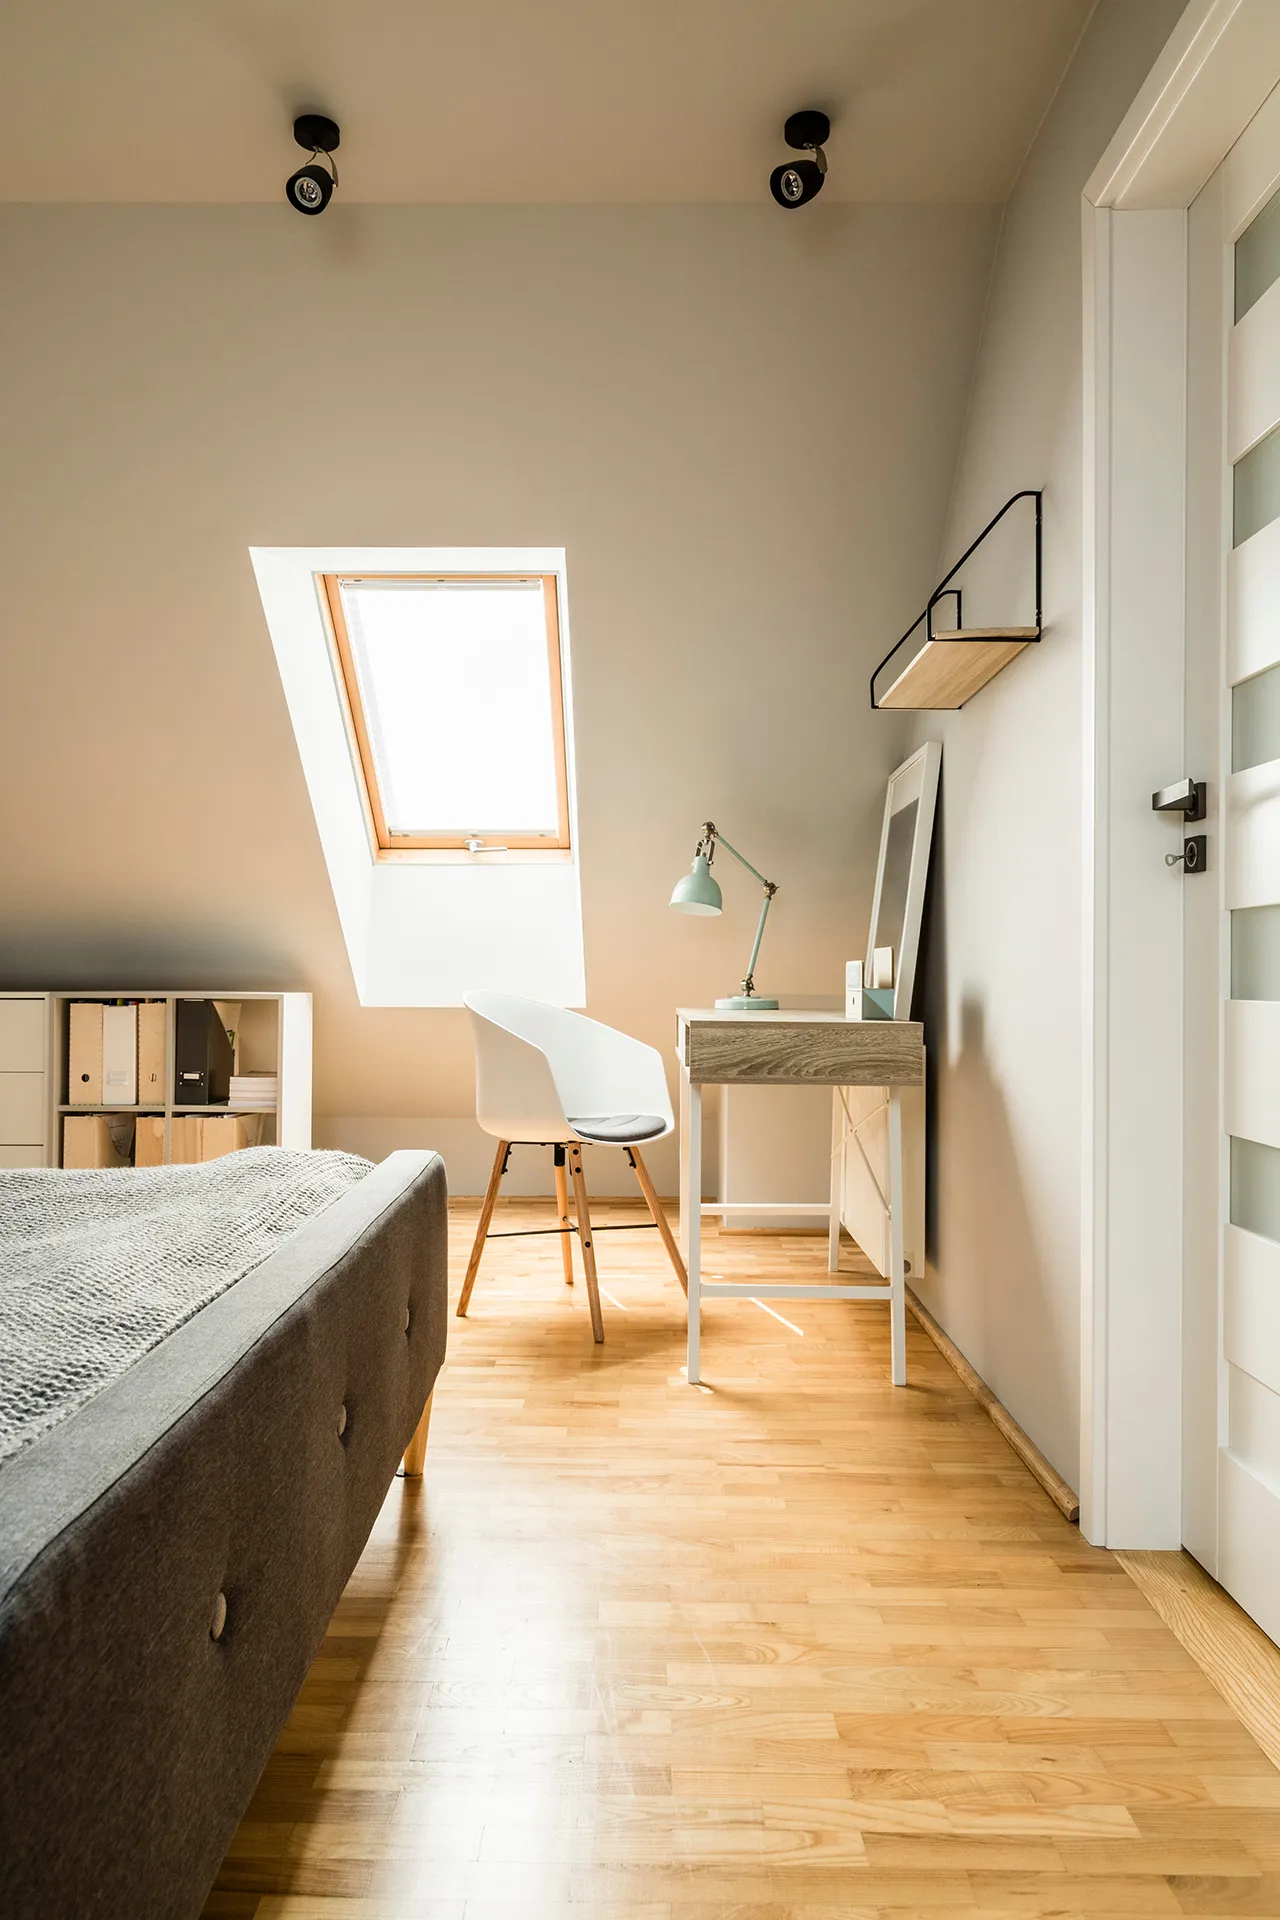
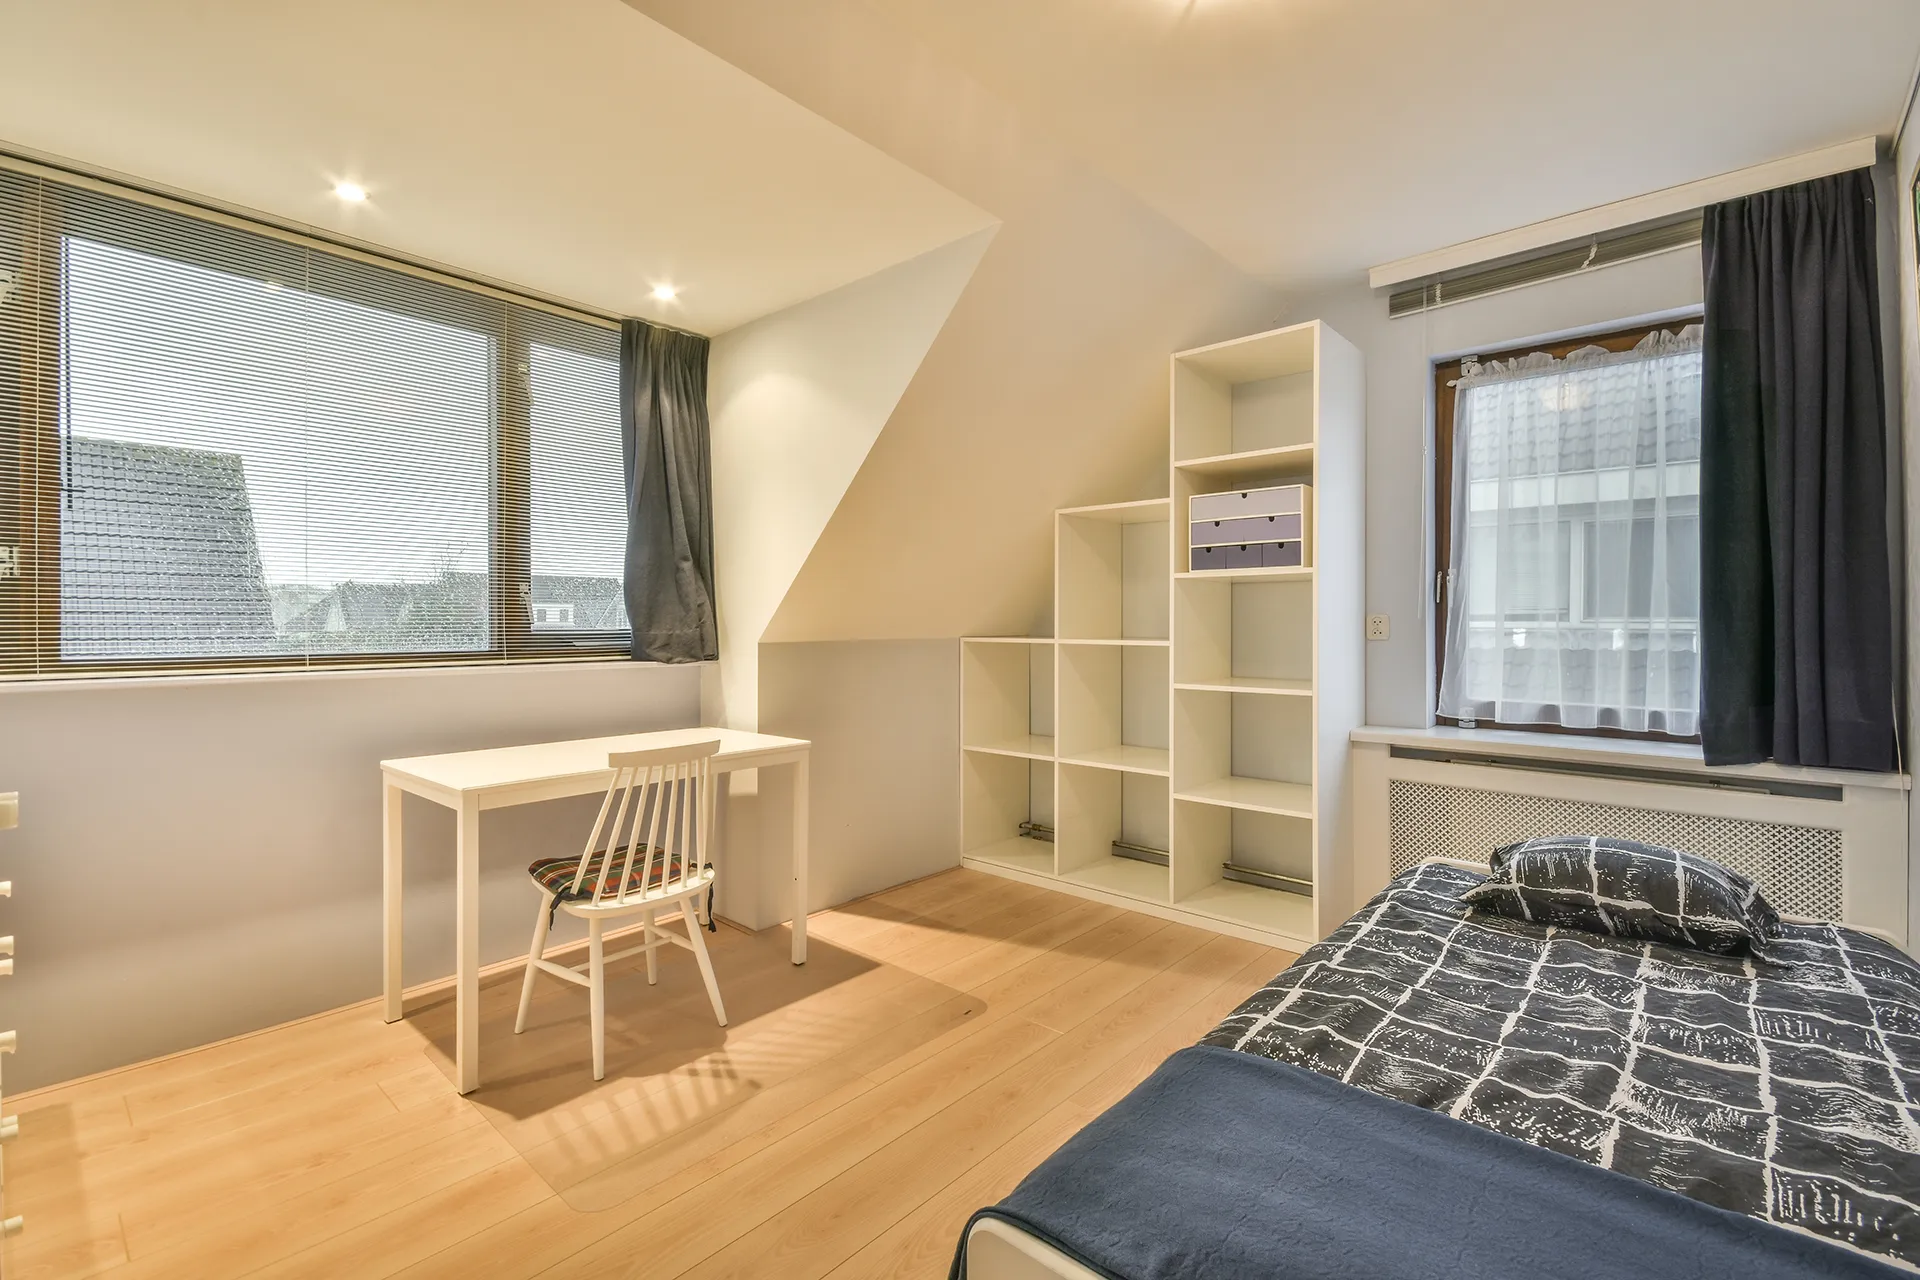
我们的环保美观木板为您提供理想的解决方案适用于现代室内外装饰。
获取有关中国建材市场的最新消息
点击注册,即表示您已阅读并接受我们的条款和条件。
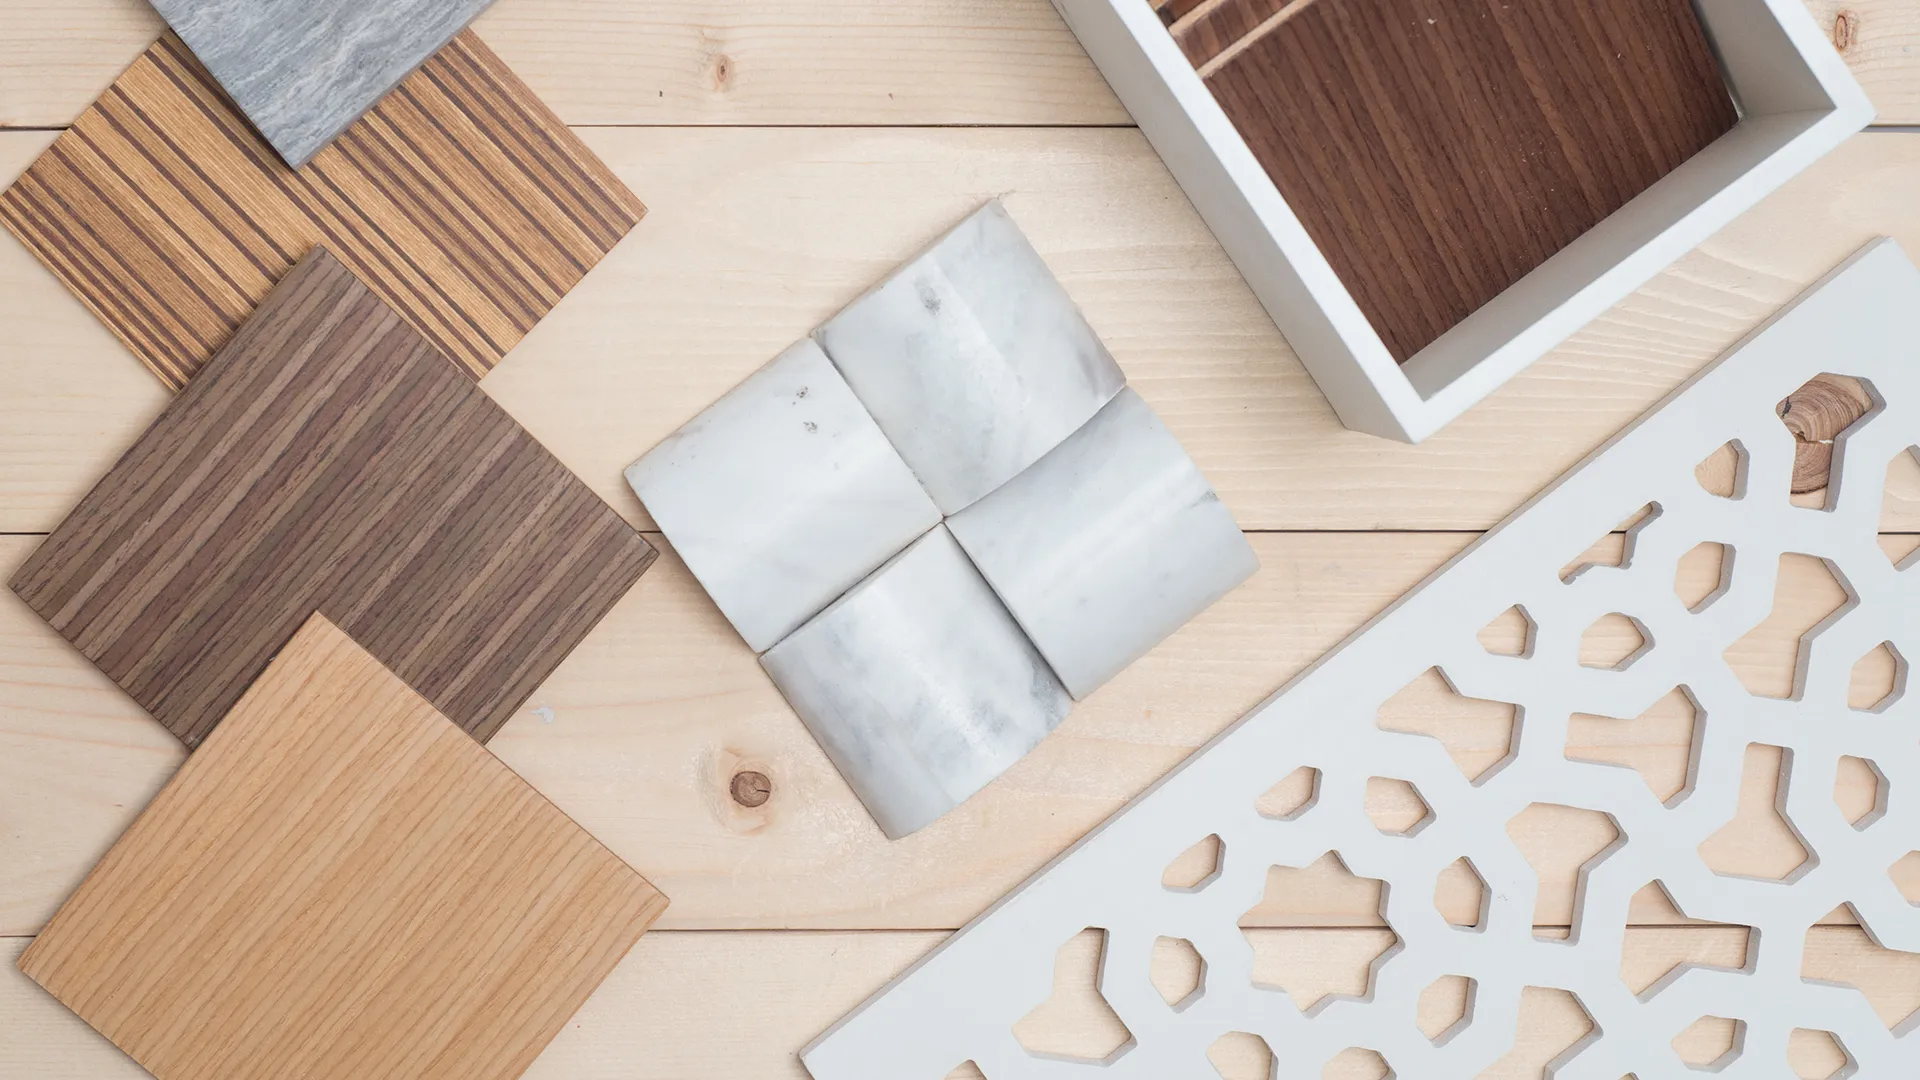
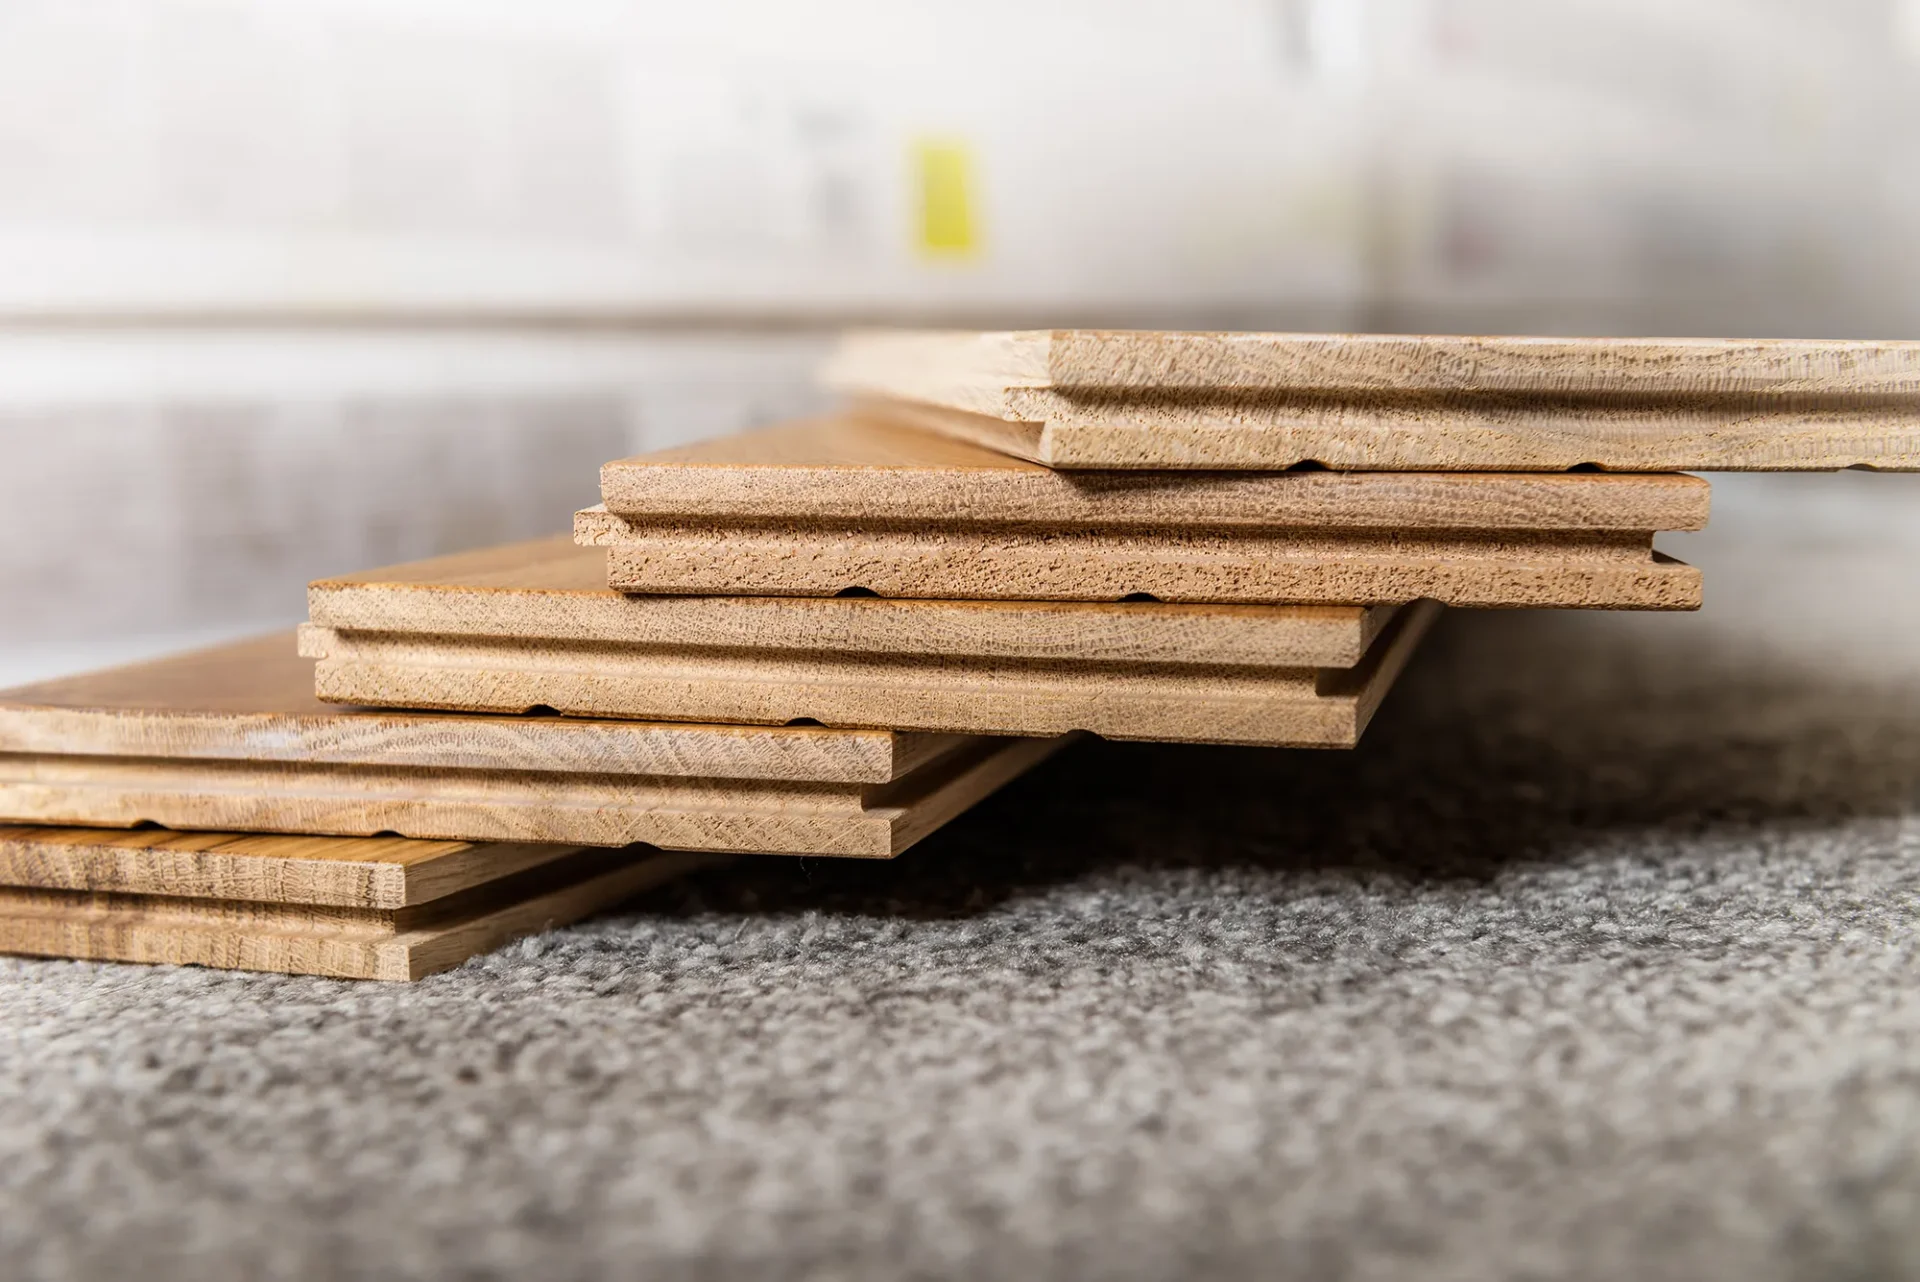
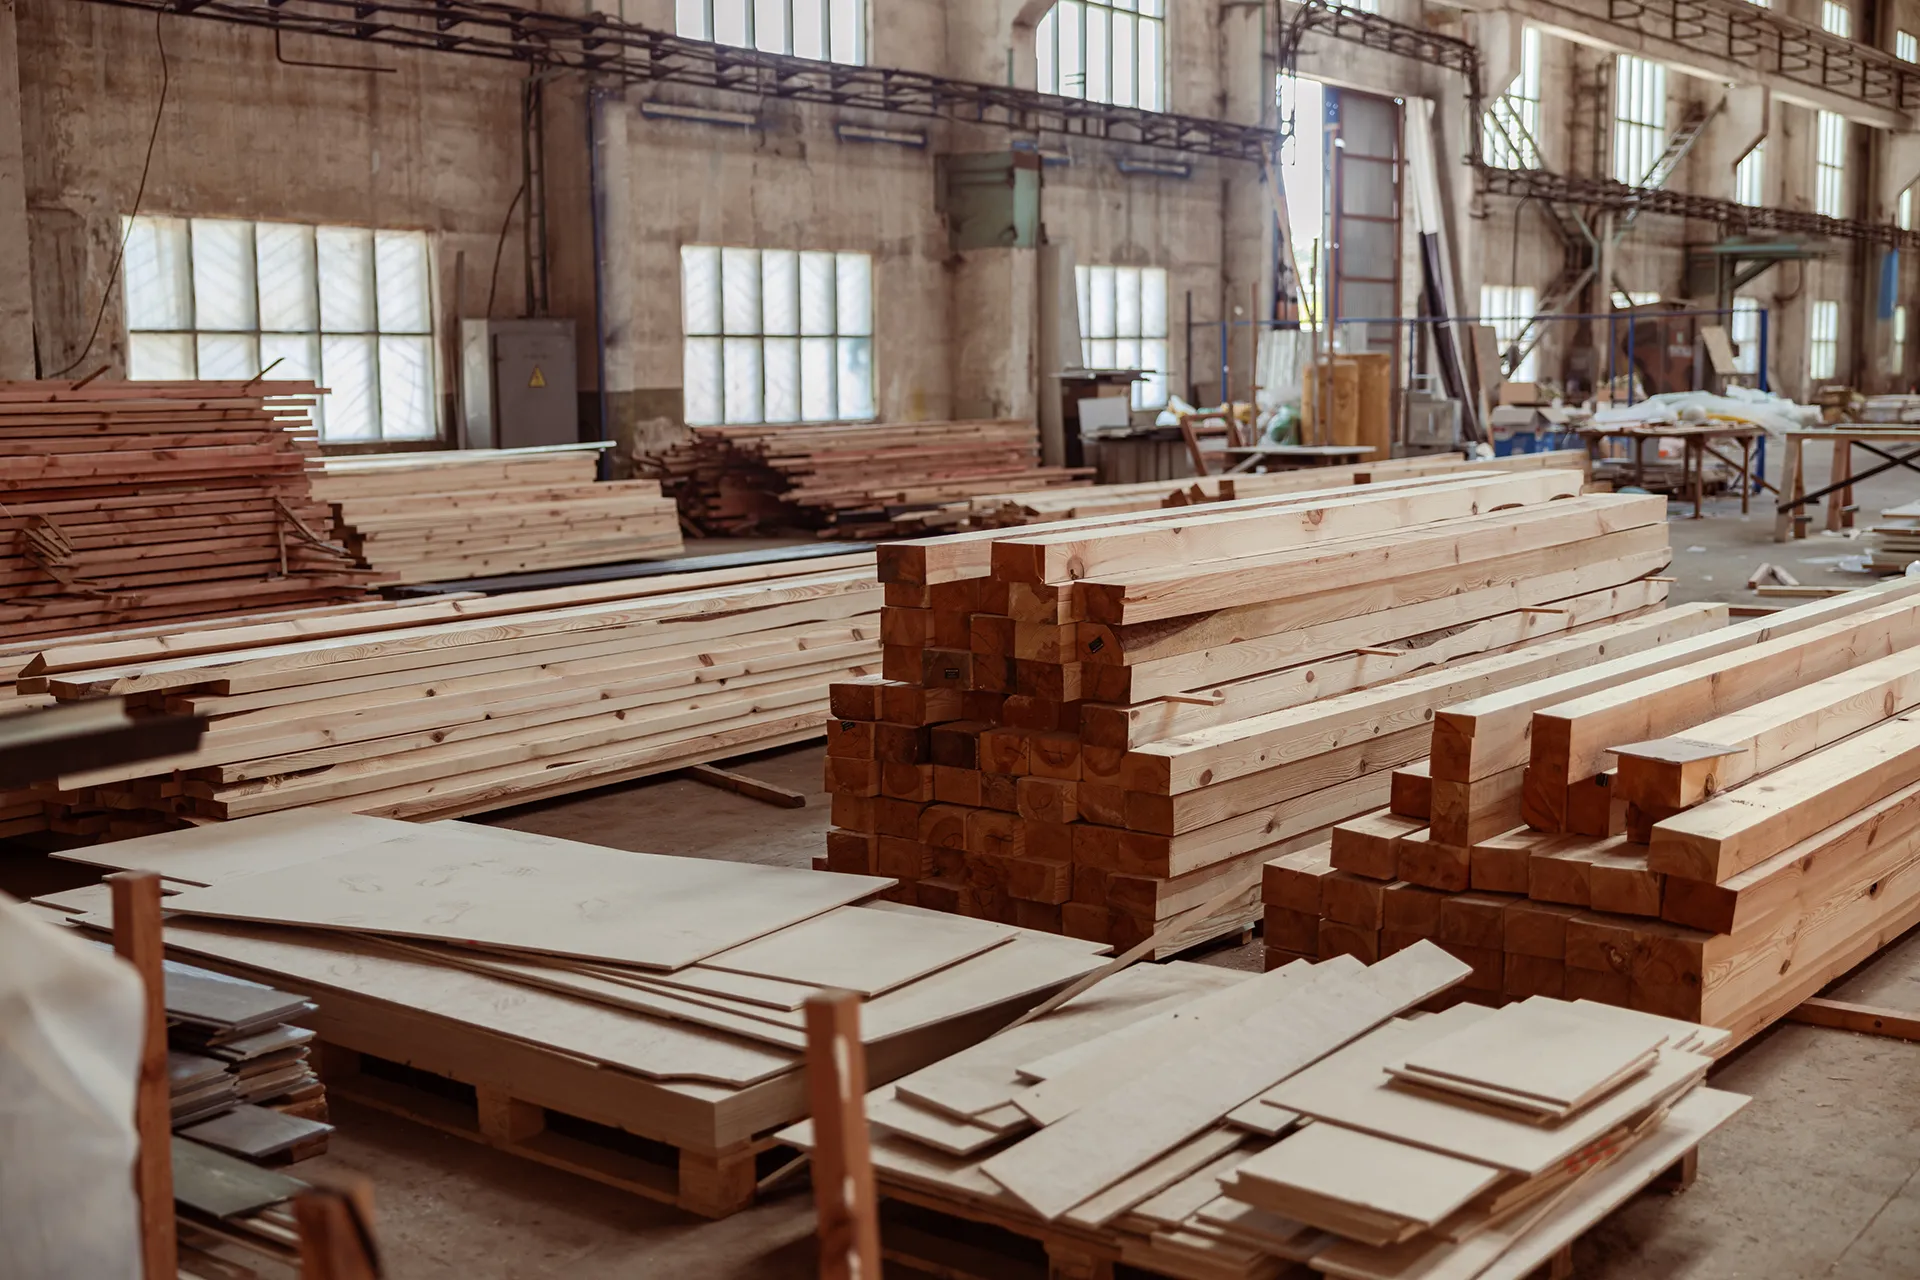
过程
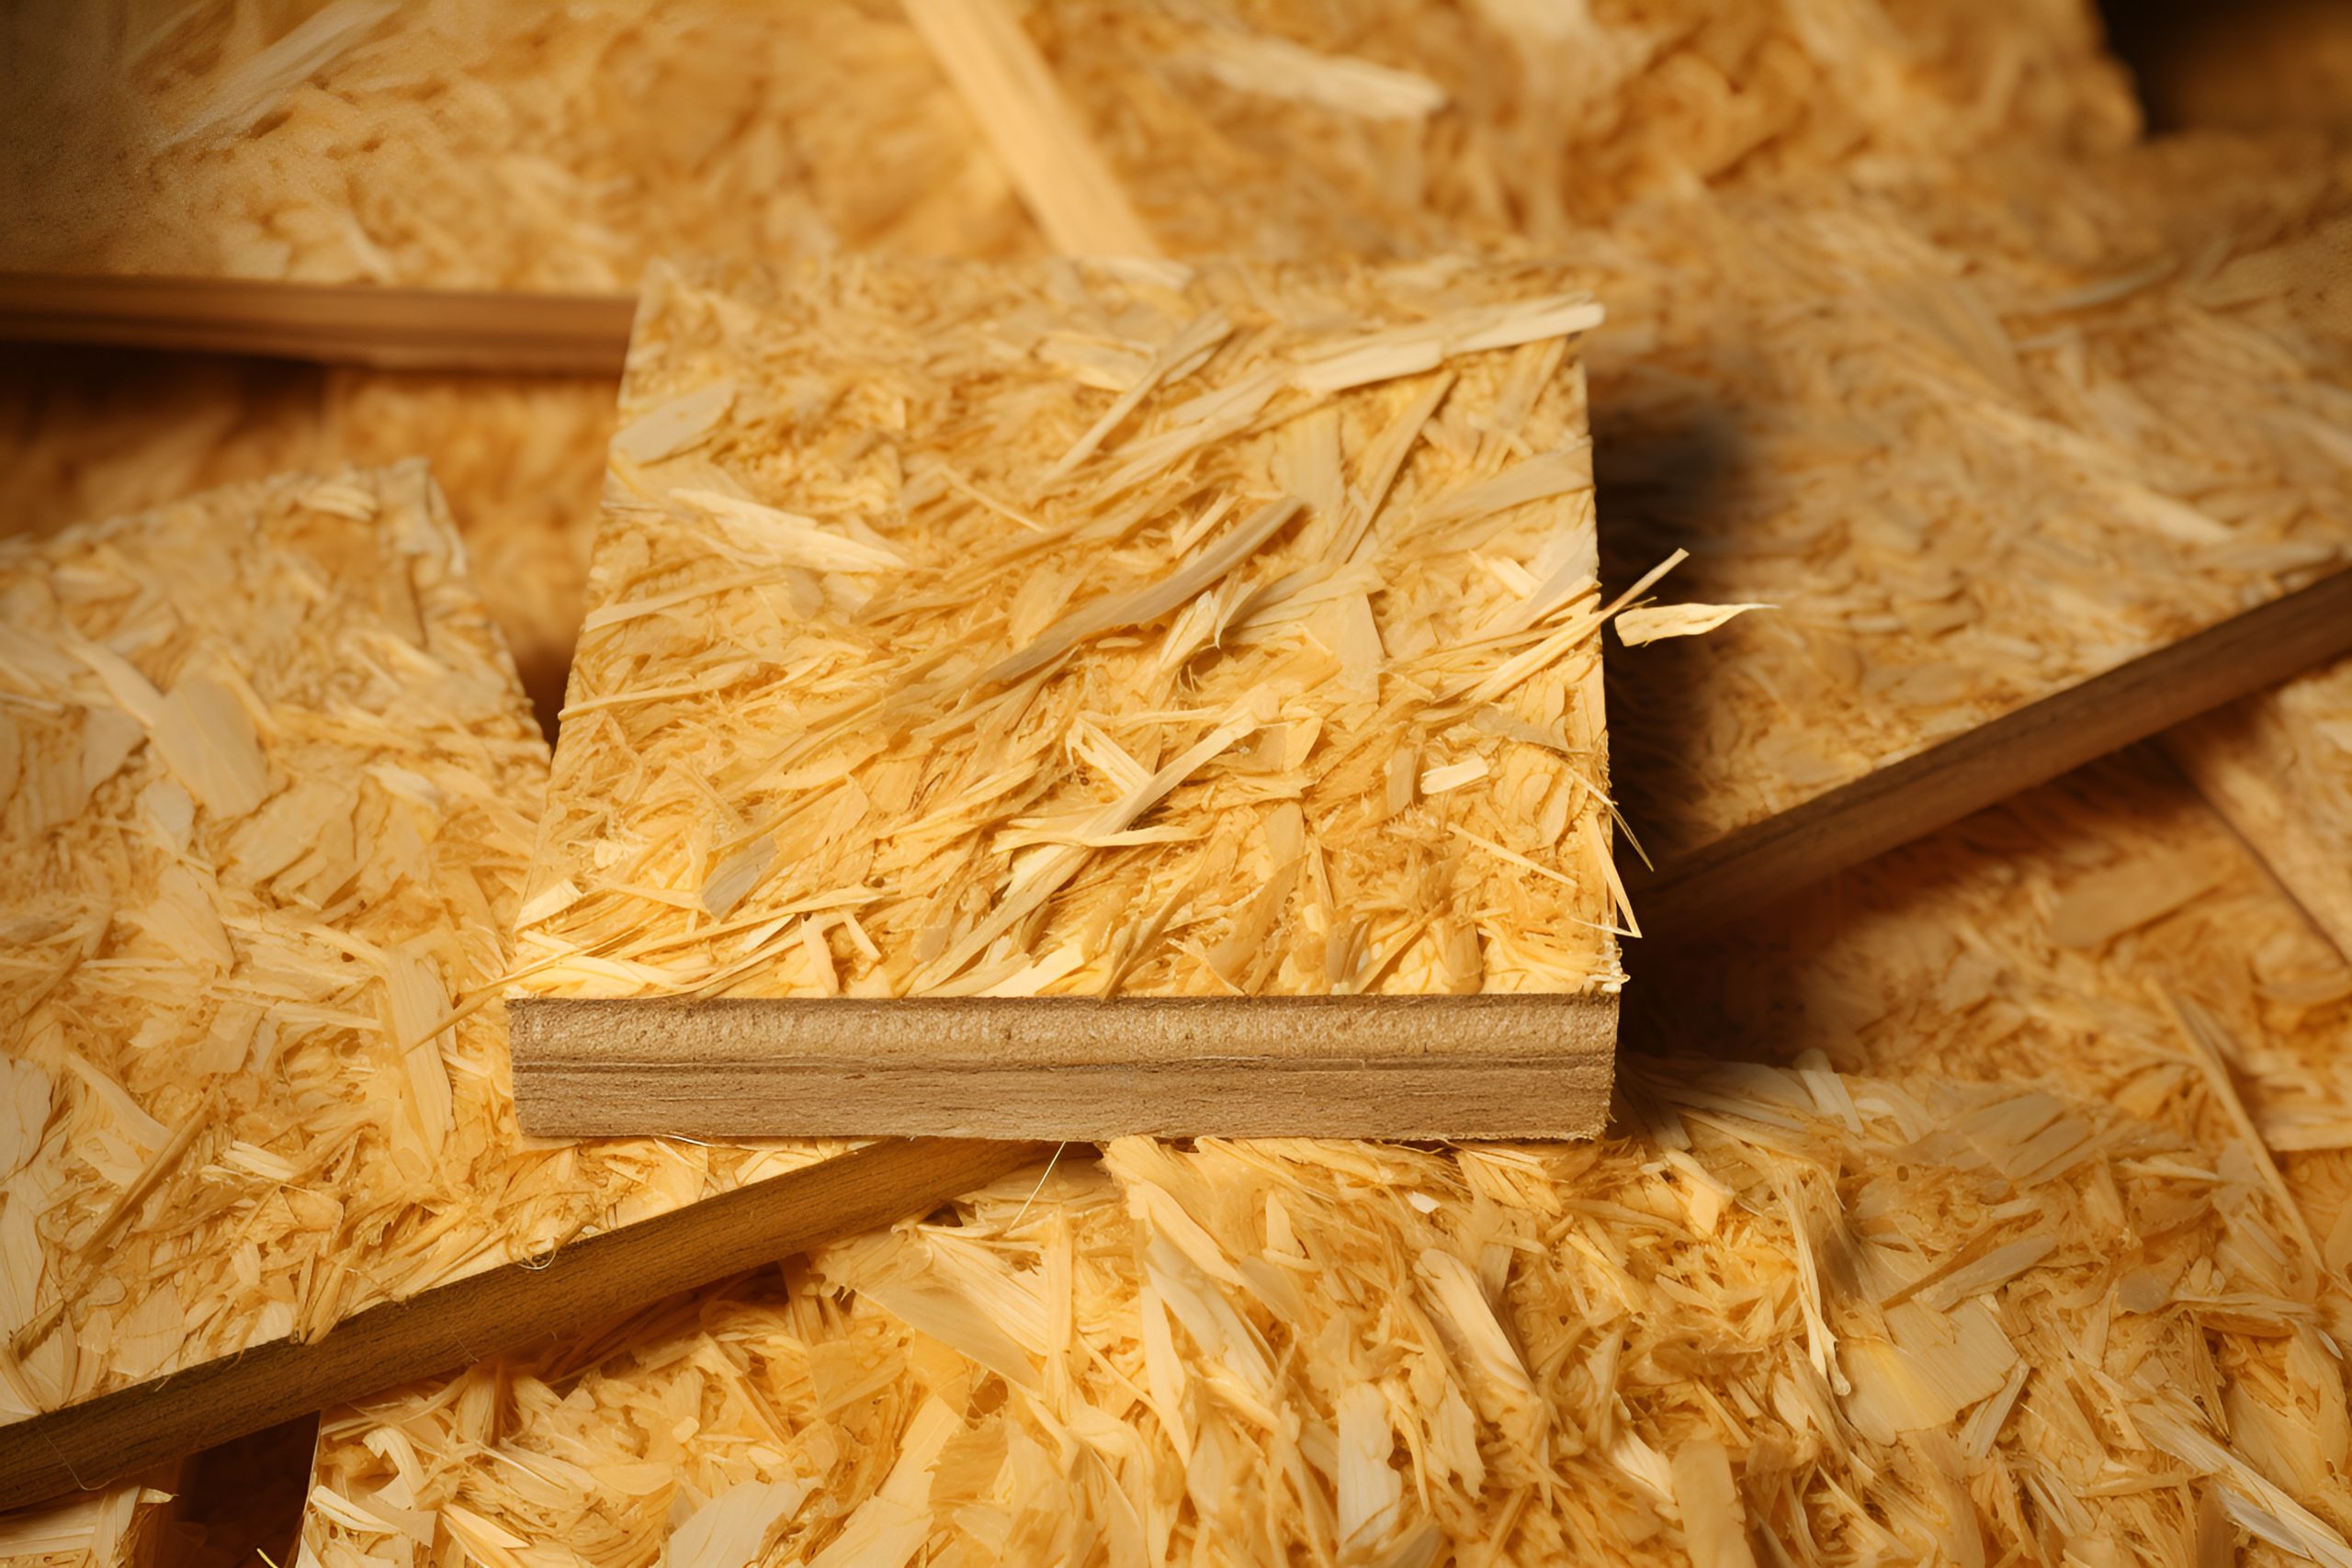
我们如何制作胶合板
我们相信,好产品始于好工艺。从精心选材到精密加工,我们的整个生产过程都以质量和对环境的责任为指导。
选择和准备
对可持续采购的木材进行仔细检查、分类和预处理,以确保高质量。
高质量。
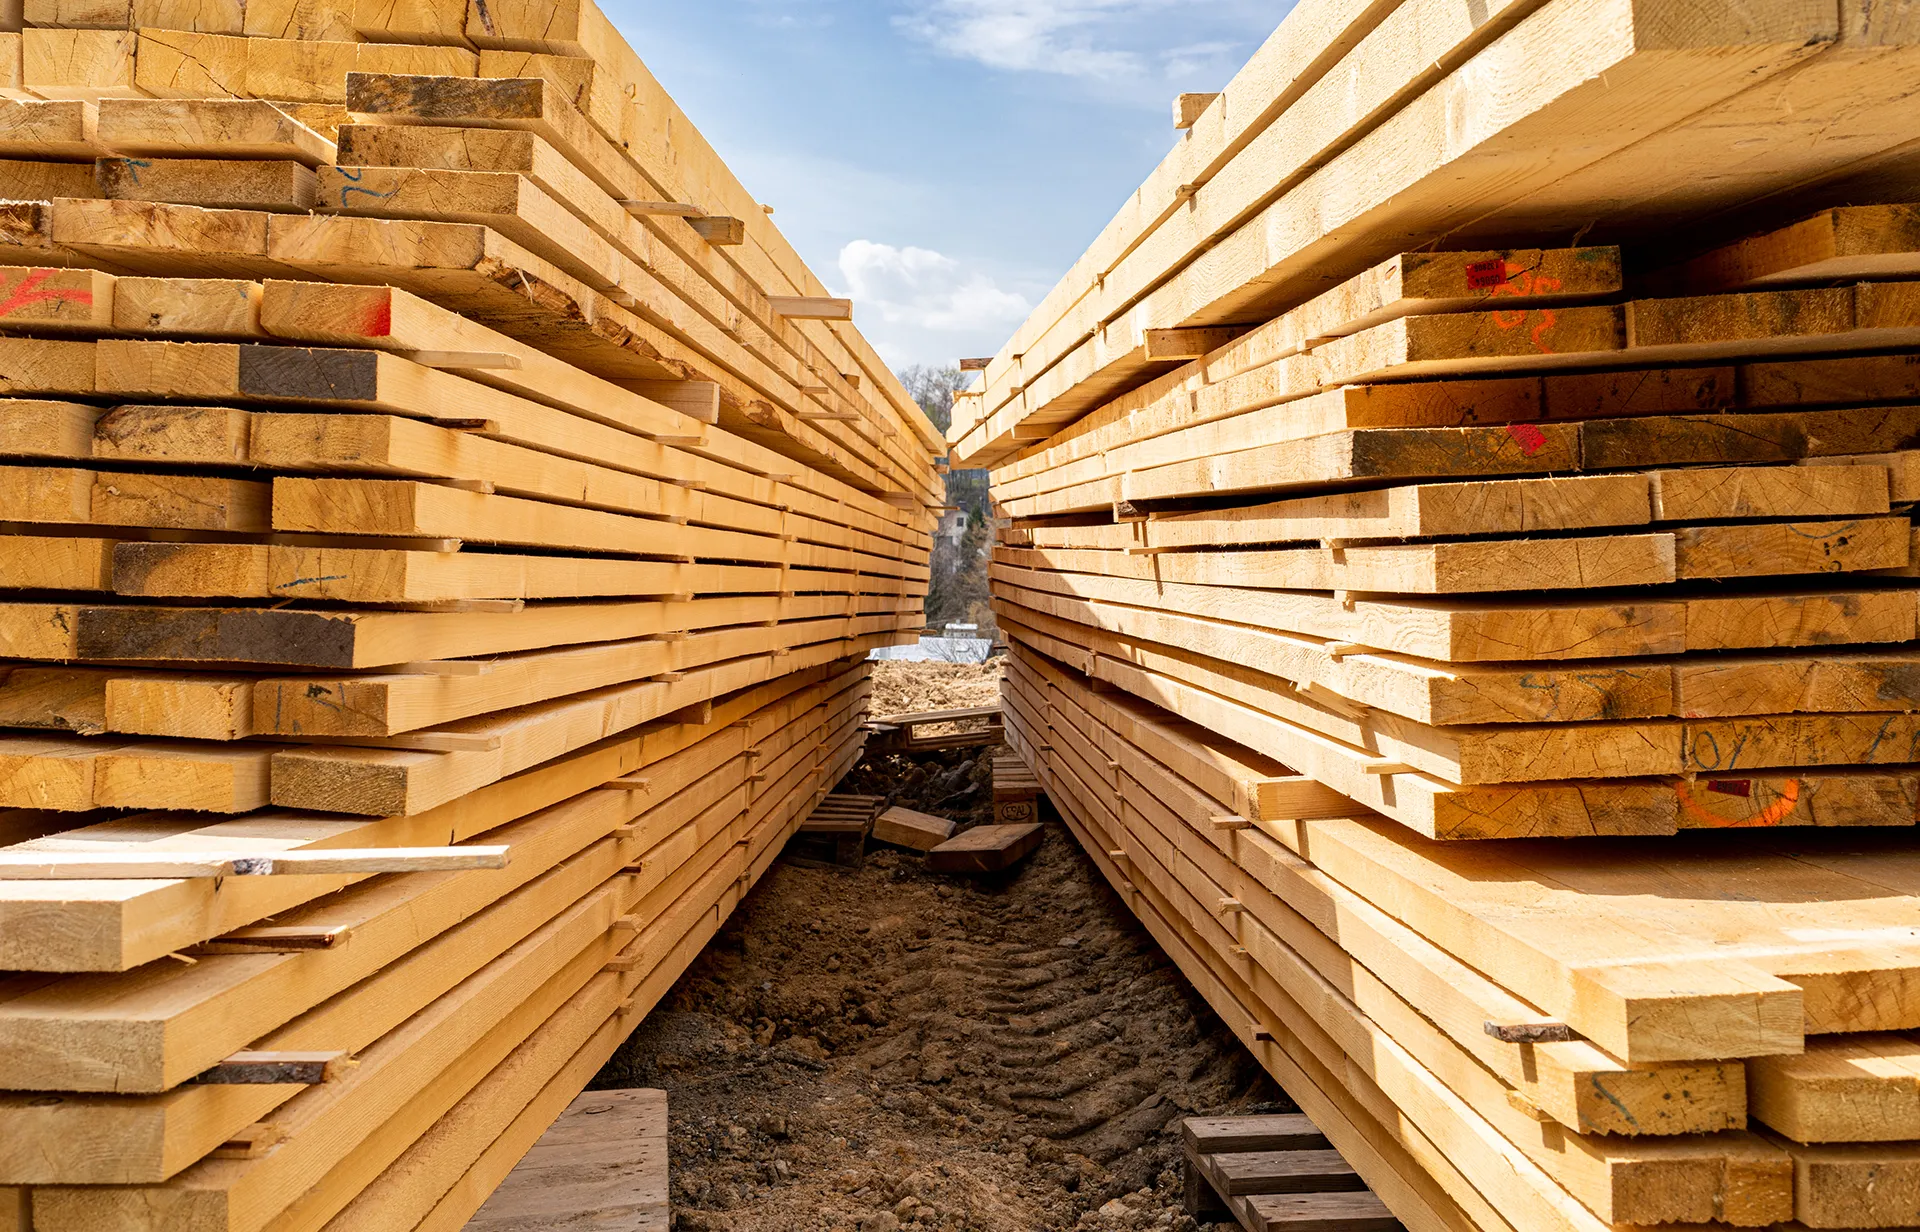
压制和成型
层压
(冷压和热压)形成坚固、稳定的板材、
稳定的面板。
表面处理
面板经过修整、打磨
层压和抛光
光滑的饰面。
检查和装运
每块面板都经过严格
检查,然后才进行安全包装
和交付。
建设更绿色、更美好的明天
可持续性与社会责任
我们致力于通过负责任的商业行为创造积极的影响。
负责任的采购
我们只使用经过认证的可持续材料和绿色制造方法。
环保产品
我们的产品可回收、可生物降解,符合严格的环保标准。

员工福利
我们重视员工的安全、多样性和福祉。

社区支持
我们积极回馈,为当地社区做出贡献。
博客
建筑材料知识库
了解有关最新建筑材料的专家见解和行业趋势。这些博客将
从深度指南、专家提示到基础知识和选择,简化复杂的材料知识。

1 月 27, 2026
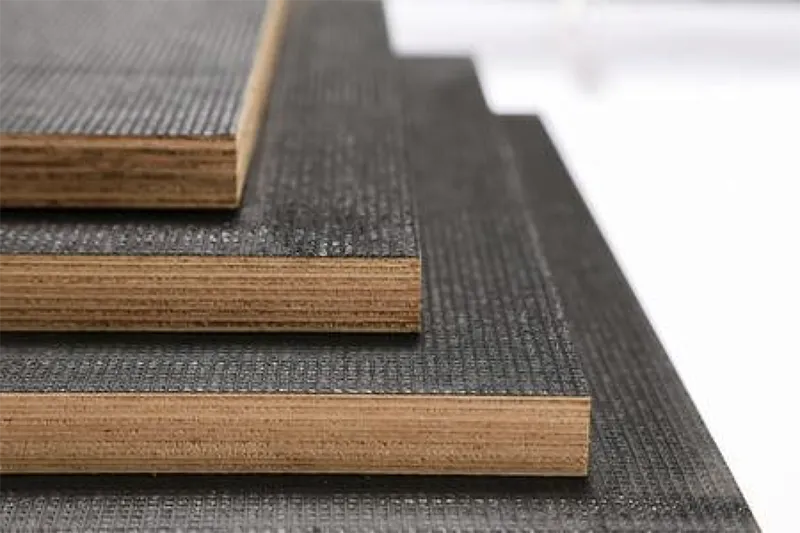
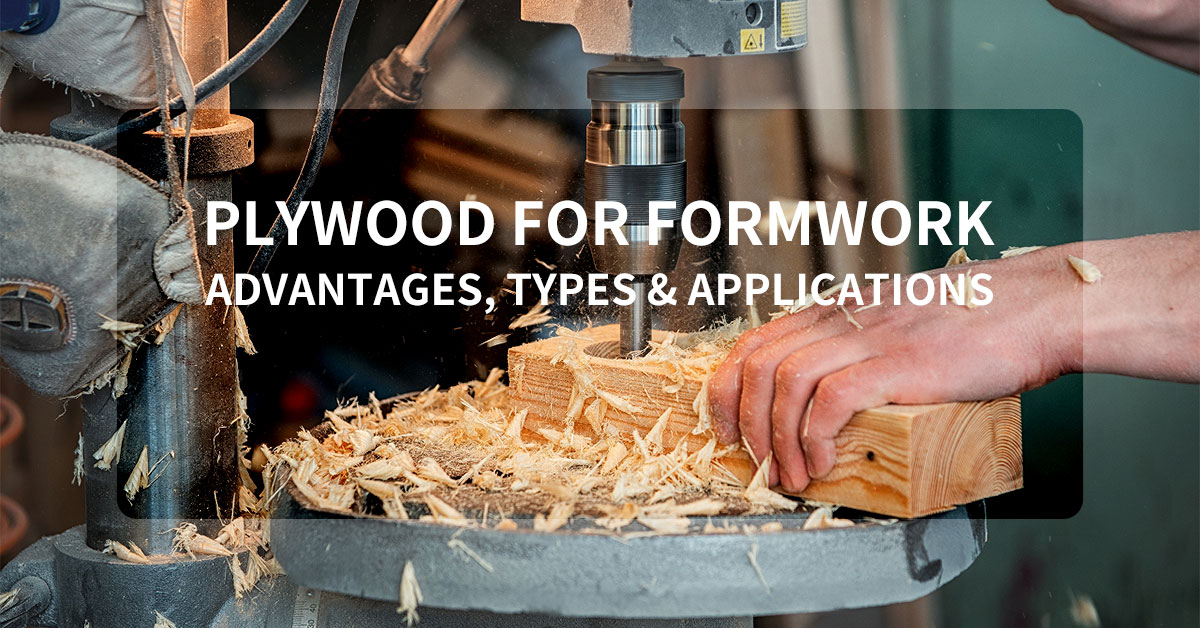
Plywood for Formwork: Advantages, Types & Applications