

How to Stain Plywood for a Perfect, Professional Wood Finish
Plywood is a popular material for furniture making, home decor, and outdoor construction thanks to its high cost-effectiveness and strong stability. However, unfinished plywood has messy layered grains and uneven colors, making it hard to achieve a refined look. In fact, with the right methods, you can stain plywood evenly and beautifully to create a professional finish that rivals solid wood. This blog breaks down the entire plywood staining process—from core values and wood selection to materials, step-by-step operations, material differences, and finish customization—so even beginners can master it easily.
Table of Contents
- Why Stain Plywood?
- Basic Plywood Selection
- 3-Stage Staining Materials & Tools
- Core Differences Between Different Staining Materials
- 7-Step Staining Method
- Demand Preferences & Application Scenarios for 4 Stain Finishes
- 결론
Why Stain Plywood?
Unify Texture & Boost Aesthetics
Plywood is made by gluing multiple wood layers together, which naturally causes messy grains and uneven colors. Staining cleverly hides these flaws, creating a smooth, consistent finish with cohesive grains that closely resemble solid wood. Studies show stained plywood projects have a 30–40% higher perceived value than unfinished ones. Whether used for desks, cabinet doors, or accent walls, stained plywood fits various decor styles, transforming from a “functional material” into a “decorative highlight.”
Block Damage & Upgrade Protection
Stain penetrates the wood’s surface to form an invisible barrier that repels moisture and blocks harmful UV rays. Unstained plywood absorbs up to 10% of its weight in moisture within 24 hours of exposure, leading to warping, swelling, or even delamination (layer separation). Staining reduces moisture absorption by 70–80%, significantly lowering these risks. For outdoor use, UV-resistant stains prevent wood discoloration—unstained wood fades quickly, while stained wood retains its bright color for 2–3 years.
Extend Lifespan & Reduce Wear
Properly stained and sealed plywood lasts 2–3 times longer than unfinished plywood. Indoors, unfinished plywood typically lasts 5–7 years with regular use, while stained plywood can endure 10–15 years. Outdoors, the difference is more dramatic: unfinished plywood deteriorates in 1–2 years, but stained and sealed plywood remains stable for 5–8 years. Additionally, the stain layer cushions minor daily scratches, keeping the surface looking new and reducing replacement costs.
Strengthen Structure & Improve Safety
When wood absorbs moisture, the glue holding its layers weakens, eventually causing delamination. This is especially dangerous for load-bearing projects like shelves, countertops, or outdoor structures, where structural failure can lead to safety hazards. Staining effectively blocks excess moisture from seeping into the wood, protecting the glue’s stability and making plywood more reliable in use.
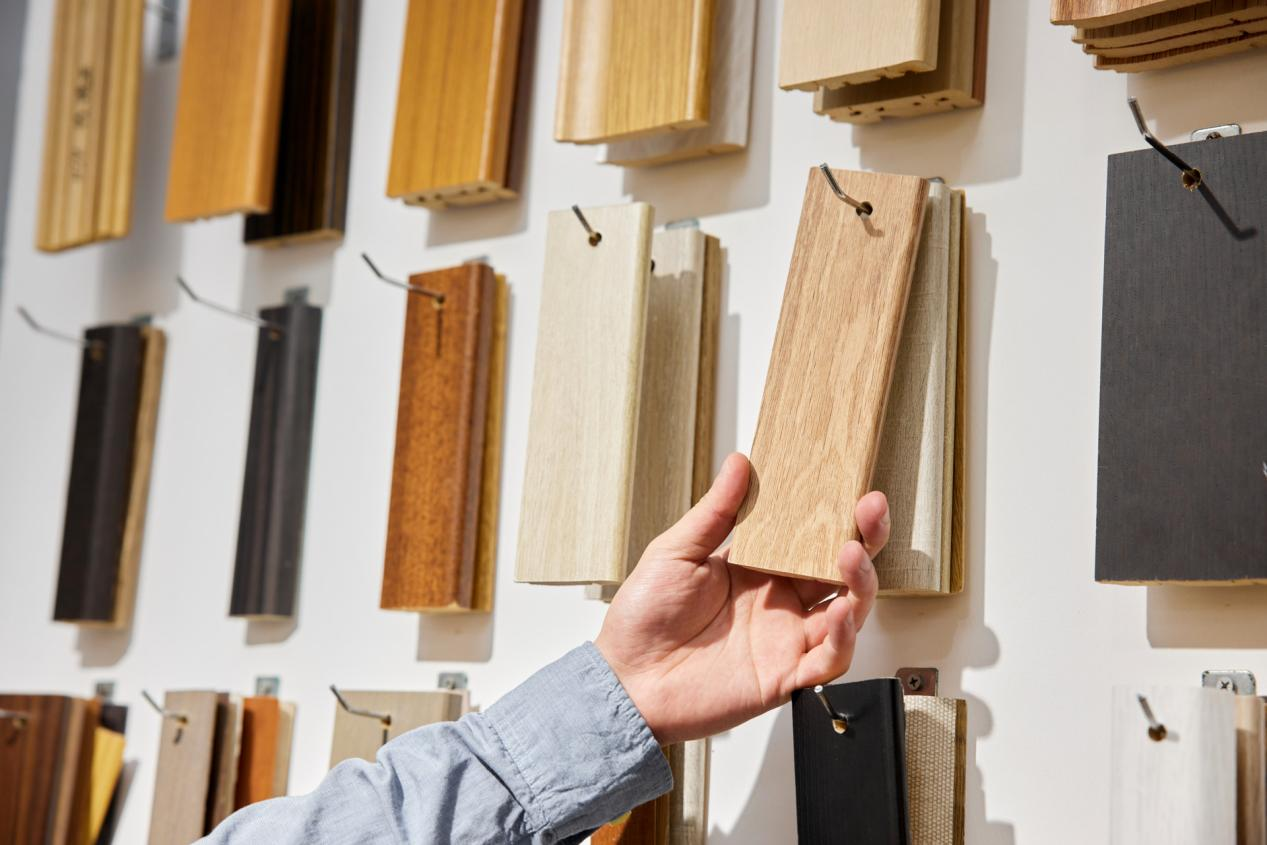
Basic Plywood Selection
Not all 합판 is suitable for staining. Choosing the right type ensures even stain adhesion and a professional result. Below are three plywood types ideal for staining, to be selected based on usage scenarios.
I. Face Veneer Plywood
For indoor furniture and decorative panels (such as desk tops, cabinet doors, or accent walls), prioritize A-grade face veneer plywood. It has a smooth, flawless surface with minimal knots or blemishes, and its continuous face veneer grains enhance the stained finish. This plywood requires no excessive sanding—stain spreads evenly without uneven absorption—and works well with both water-based and oil-based stains, offering strong versatility.
II. Multi-Ply Plywood
Multi-ply plywood (also called cabinet-grade plywood) consists of 5 or more thin wood layers glued crosswise. It boasts far better stability than regular 합판, with excellent resistance to warping and swelling. Its flat surface and minimal grain variation allow for easy, even staining. It suits both indoor projects (countertops, shelves, built-in furniture) and protected outdoor projects (covered patio furniture), balancing aesthetics and durability—making it a “safe choice” for most DIY projects.
III. Exterior-Grade Plywood
For outdoor items like patio furniture, garden planters, exterior trim, or decking, always choose exterior-grade plywood. It uses waterproof glue to prevent delamination in humid environments. Though slightly rougher than A-grade face veneer plywood, it achieves a professional finish with proper sanding. Exterior-grade plywood pairs best with oil-based or semi-transparent stains (offering strong UV and water resistance) to withstand wind, sun, and rain.
3-Stage Staining Materials & Tools
The right materials and tools are critical for a smooth, even professional finish. Low-quality products or improper tools cause uneven color, streaks, or poor adhesion—wasting time and materials. Below is a categorized list of essentials for beginners to purchase directly.
Core Staining Products
- Wood Stain: Choose based on your project. Water-based stains are ideal for indoor enclosed spaces—they dry fast (2–4 hours), have low VOC emissions (less than 50 g/L), and are eco-friendly with no strong odors. Oil-based stains work for outdoor use or deep colors—they penetrate 1/8 inch deep, resist UV rays and water effectively. Gel stains suit porous plywood (e.g., some exterior-grade types)—their thick texture is easy to control, preventing uneven absorption. One gallon of stain covers 200–300 square feet of plywood; calculate usage based on your project size.
- Wood Conditioner: A must-have for porous plywood. It evens out stain absorption, reducing color variation by 60–70% and preventing blotchiness. Apply it before staining to lightly seal the wood without blocking stain penetration, ensuring uniform coloring.
- Sealer/Topcoat: The final protective step after staining. It prevents scratches, moisture damage, and fading. For indoor projects, use polyurethane (water-based or oil-based)—it’s durable and easy to apply. For a natural matte look, choose tung oil or linseed oil. For outdoor projects, use UV-inhibitor sealers to extend color life.
Prep Materials
- Sandpaper: 80-grit for initial sanding (removing roughness, old finishes, or stains); 120–150-grit for intermediate polishing; 180-grit for final smoothing; 220-grit for light sanding before sealing. Sanding opens the wood’s pores for better stain adhesion.
- Cleaning Supplies: Lint-free cloths or tack cloths remove dust after sanding—remaining dust causes bumps in the finish. Mild soap and water clean grease or dirt (let wood dry completely for 1–2 hours before sanding). Alcohol wipes remove stubborn grease or silicone residue, which can hinder stain adhesion.
- Wood Filler: Fills small cracks, holes, or knot holes (less than 1/4 inch in diameter) for a smooth surface. Choose stainable filler that matches your stain color to avoid visible patches.
Application Tools
- Staining Tools: 2–3 inch foam brushes: Use these for edges and corners. 9-inch foam rollers: Great for large areas—they can finish a 4×8 foot 합판 sheet in 10–15 minutes. Lint-free rags: Use them to apply gel stain or wipe off extra stain to adjust how dark it is. Small brushes: Fill in gaps or spots you missed on edges.
- Protective Gear: Disposable gloves: They keep stain off your hands. Dust masks: Protect you from breathing in sanding dust. Safety goggles: Shield your eyes from irritation from oil-based stain. Aprons: Keep your clothes clean.
- Auxiliary Tools: Paint trays: Make it easy to load stain onto rollers. Painter’s tape: Protect areas you don’t want to stain (like hardware or edges). Stir sticks: Mix stain thoroughly—settled pigments cause uneven color. Timers: Control how long stain sits on the wood to avoid spotty depth.
Core Differences Between Different Staining Materials
Common staining materials include water-based, oil-based, and gel types. They differ significantly in drying time, color effect, protection performance, and application scenarios—choose carefully based on your project to avoid poor results.
Water-Based Stain: Eco-Friendly & Convenient for Indoors
- Core Features: It dissolves in water, is eco-friendly, and has no strong smell. It releases very little harmful gas (less than 50 grams per liter) and dries quickly—surface dry takes 2–4 hours, and full dry needs 24 hours. Its color is transparent, so it preserves the wood’s natural grain. Cleaning tools is easy—just use water.
- Limitations: It doesn’t soak deep into the wood (only about 1.5mm) and doesn’t resist UV rays very well. It’s less water-resistant than oil-based stains, so it’s not suitable for long-term outdoor use or humid places.
- Application Scenarios: It works best for indoor closed spaces, such as furniture (desks, cabinets, wardrobes), accent walls, and shelves. It’s especially ideal for kid’s rooms, bedrooms, or studies where eco-friendly products are a top requirement.
Oil-Based Stain: Durable Protection for Outdoors
- Core Features: It uses mineral or vegetable oil as a base. It soaks deep into the wood (up to 1/8 inch, about 3mm) to provide long-lasting protection. It resists UV rays, water, and moisture very well. Its color is rich and full, with strong coverage to hide grain flaws. It has a long lifespan—stays resistant to fading and cracking when used outdoors.
- Limitations: It dries slowly—surface dry takes 6–8 hours, and full dry needs 48 hours. It has a strong odor, so you must use it in well-ventilated areas. Cleaning tools requires turpentine or kerosene, which makes it less convenient than water-based stains.
- Application Scenarios: It works for outdoor spaces like patio furniture, garden planters, decking, and exterior trim. It’s also good for indoor projects that need rich, vivid colors—for example, vintage-style furniture.
Gel Stain: Easy to Control & Even for Porous Wood
- Core Features: It has a thick gel texture and doesn’t drip. It’s easy to control how much you use, which stops the stain from soaking in unevenly (even if it dries fast). Its color is very uniform—its coverage is between water-based and oil-based stains. It keeps some of the wood’s natural grain while hiding small flaws. It dries at a medium speed: surface dry takes 4–6 hours, and full dry needs 36 hours.
- Limitations: It doesn’t soak deep into the wood, and its protection is just okay—you must seal it after use. It also costs a little more than water-based or oil-based stains.
- Application Scenarios: It works well for porous 합판 (like some outdoor-grade wood or rough multi-ply wood), plywood with lots of knots, and beginner projects (it’s hard to make mistakes). It’s suitable for indoor or outdoor projects that need moderate protection.
7-Step Staining Method
Step 1: Thoroughly Clean the Plywood Surface
A clean surface is essential for stain adhesion—dust, grease, or silicone residue causes peeling or fading. Wipe the wood with mild soap and water; use alcohol wipes for stubborn grease. Let the wood dry completely in a well-ventilated area for 1–2 hours, then confirm it’s dry to the touch before proceeding.
Step 2: Initial Sanding & Fill Flaws
After drying, sand the wood with 80-grit sandpaper along the grain to remove roughness, old finishes, or burrs. Apply even pressure to avoid uneven scratches. Wipe away dust with a tack cloth, then fill small cracks, holes, or knots with stainable wood filler. Let the filler dry for 2–3 hours, then sand the filled areas with 120-grit sandpaper to blend seamlessly with the surface.
Step 3: Apply Wood Conditioner
Never skip this step for porous or rough-grained 합판. Stir the conditioner thoroughly, then apply a thin, even layer with a foam brush or roller—cover every area. Let it sit for 5–15 minutes (follow product instructions; do not let it dry completely), then wipe off excess with a clean lint-free cloth. Let the conditioned wood dry for 30–60 minutes to allow deep penetration.
Step 4: Test the Stain Color
Stain color in the can differs greatly from the final result on plywood—always test first. Cut a small piece of the same plywood (or use an inconspicuous edge), apply stain as planned, and let it dry (2–4 hours for water-based, 6–8 hours for oil-based). Check if the color meets your expectations. If too light, apply a second coat on the test piece; if too dark, wipe excess stain faster during formal application.
Step 5: Apply Stain Evenly & Control Depth
Once satisfied with the test color, start staining the main project. Stir the stain thoroughly for 3–5 minutes (settled pigments cause uneven color), then pour a small amount into a paint tray. Use a foam roller for large areas and a brush for edges/corners—apply along the grain to avoid streaks. Work in 2–3 square foot sections to prevent stain from drying before wiping. Let the stain sit for 5–15 minutes (longer for darker color), then wipe off excess with a clean lint-free cloth—apply even pressure for uniform depth. For deeper color, let the first coat dry fully (2–4 hours for water-based, 6–8 hours for oil-based) before applying a second coat—never layer wet stain.
Step 6: Second Sanding & Seal for Protection
After the stain dries completely (24 hours for water-based, 48 hours for oil-based), lightly sand the surface with 180-grit sandpaper to remove tiny particles or brush marks. Wipe away dust with a tack cloth, then apply sealer. Stir the sealer thoroughly, then apply a thin, even layer with a brush or roller—avoid thick coats (they bubble or drip). Let the first coat dry (4–6 hours for water-based, 8–12 hours for oil-based), lightly sand with 220-grit sandpaper, wipe off dust, and apply a second coat. For outdoor projects, add a third coat of UV-inhibitor sealer for extra water and sun protection.
Step 7: Final Polishing & Cure
After the final sealer coat dries for 8–12 hours, polish the surface with a clean lint-free cloth (add a small amount of polishing wax for extra shine)—wipe along the grain. Place the plywood in a well-ventilated, dry, dust-free area to cure for 24–48 hours. Avoid touching, pressing, or getting it wet during this period to ensure maximum hardness and protection.
Demand Preferences & Application Scenarios for 4 Stain Finishes
I. Natural Wood Finish: Minimalist & Fresh, Highlighting Grain
The natural wood finish is perfect for people who love wood’s natural grain. They want stain to make the grain stand out, not cover it up. They prefer light, see-through colors that fit minimalist, fresh, and eco-friendly styles. This finish works great with Nordic or Japanese decor. It’s ideal for desks, wardrobes, accent walls, or window sills in living rooms, bedrooms, or studies—spaces where you want a warm, natural feel. Use water-based stain in light shades like light oak, ash, or light walnut. Let the stain stay on the wood for 5–8 minutes, then gently wipe off the extra to keep the grain layers visible. Seal it with matte polyurethane or tung oil—avoid high-gloss coatings, as they’ll hide the wood’s natural texture.
II. Rich Vintage Finish: Thick & Textured, Showcasing Personality
The rich vintage finish targets users who prefer deep colors. They seek a retro, heavy texture that highlights furniture’s design and timeless appeal, adding character to spaces. It fits vintage or industrial decor—perfect for cabinets, coffee tables, or accent cabinets in living rooms, dining rooms, or foyers where a focal point is needed to elevate style. Use oil-based stain in deep tones like dark walnut, red brown, or ebony. Apply two coats for intense color, seal with semi-matte or high-gloss polyurethane to boost shine and texture. For extra vintage charm, lightly sand edges with fine sandpaper after staining to create a worn look.
III. Practical Durable Finish: Protection First, Aesthetics Second
The practical durable finish is great for people who care more about protection than appearance. They focus on scratch resistance, water resistance, and stain resistance—since these items get used a lot. They want the finish to hold up to daily wear without fading or getting damaged. This finish works for frequently used indoor pieces like kitchen countertops, dining tables, and coffee tables. It’s also perfect for outdoor furniture on balconies, patios, or in gardens. Pick oil-based or gel stain—you can choose any color you like. Seal it with high-hardness polyurethane (either water-based or oil-based) and apply three coats for the best protection. After staining, add a layer of wear-resistant varnish for even more scratch protection. For daily use, use tablecloths or coasters to reduce direct wear on the surface.
IV. Minimalist Solid Color Finish: Uniform & Sleek, Matching Modern Styles
The minimalist solid color finish is for those who want even, consistent colors without visible grain. They prefer a sleek, elegant look that blends with modern minimalist or luxury decor, ensuring space cohesion. It fits custom items like cabinet doors, accent walls, or built-in furniture in living rooms, bedrooms, or closets where a unified decor style is desired. Use gel stain for its high color uniformity, which minimizes grain differences. Apply evenly to avoid uneven color, and seal with high-gloss or matte sealer—choose high-gloss for luxury or matte for understated minimalism. The result is a clean, uniform solid color that embodies minimalist design.
결론
Staining 합판 for a professional-looking finish isn’t as hard as it seems. Just stick to four key steps: pick the right plywood, get good quality materials, follow the step-by-step process, and take care of the finish when needed. Even beginners can do it successfully! Staining not only makes plywood look twice as good but also adds a protective layer to make it last longer. It turns ordinary wood into a high-quality material that’s both useful and nice to look at.
Whether you’re making indoor furniture, outdoor decor, or custom crafts, staining is an affordable way to make your project better. Follow the tips in this guide, and you’ll get a smooth, even finish that looks just as good as professional results—no prior experience required! Your projects will hold up to daily use, stand the test of time, and still look great.
제품에 대해 자세히 알아보시겠습니까?
지금 문의